Zero to Hero (Proxied)
First installation
Section titled “First installation”Initialise norsk-ctl
Section titled “Initialise norsk-ctl”Run norsk-ctl init to create the configuration file with your license, default working directory, and an initial proxy user. This only needs to be done once.
$ norsk-ctl init --license-file /home/parallels/internal_dev_license.json --working-directory /tmp/workspace --proxy-user admin --proxy-password testpass1Proxy user "admin" createdConfig written to /tmp/nix-shell.DOxv4h/norsk-ctl-guide-zero-to-hero-proxied-Jzn9kL/config.yamlEquivalent command: norsk-ctl init --network-mode docker --license-file /home/parallels/internal_dev_license.json --working-directory /tmp/workspace --proxy-user admin --proxy-password '<redacted>'You can add or update proxy users later with norsk-ctl user set <name>.
Getting started
Section titled “Getting started”Sign in
Section titled “Sign in”Navigate to the proxy URL. Unauthenticated requests are met with a sign-in form backed by the user you configured during init.
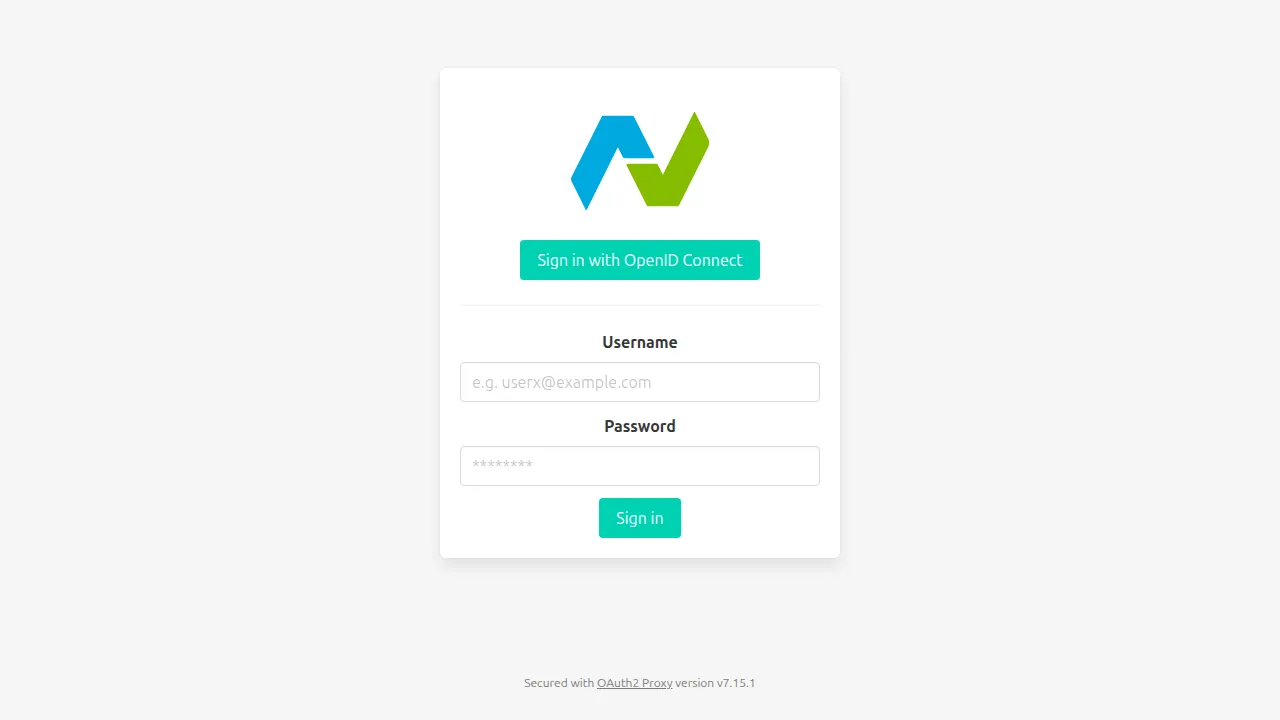
Enter your username and password and click Sign in.
Open the dashboard
Section titled “Open the dashboard”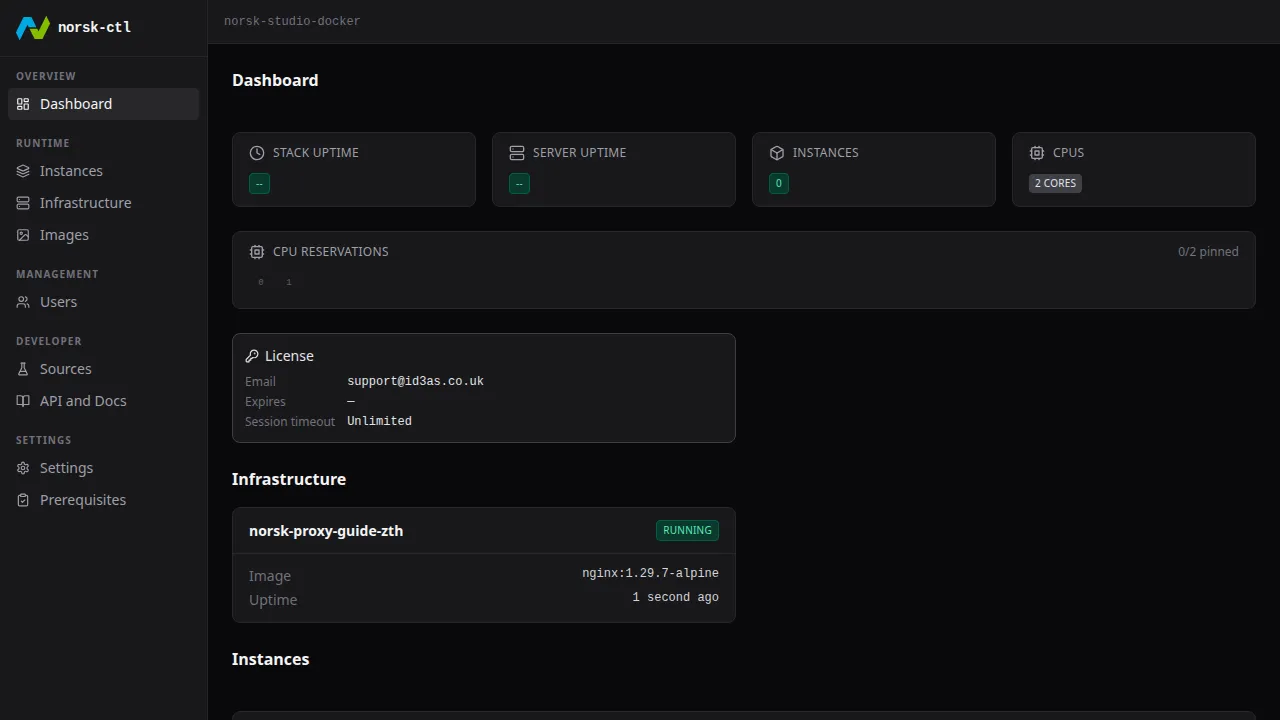
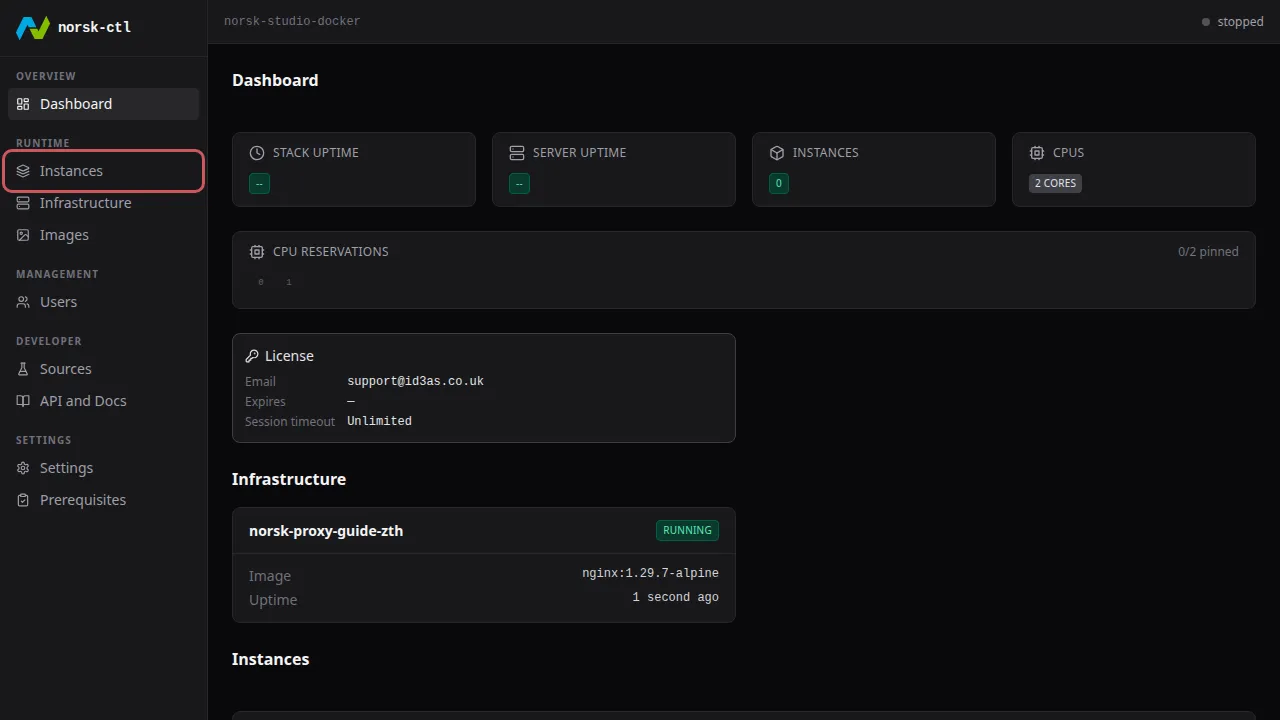
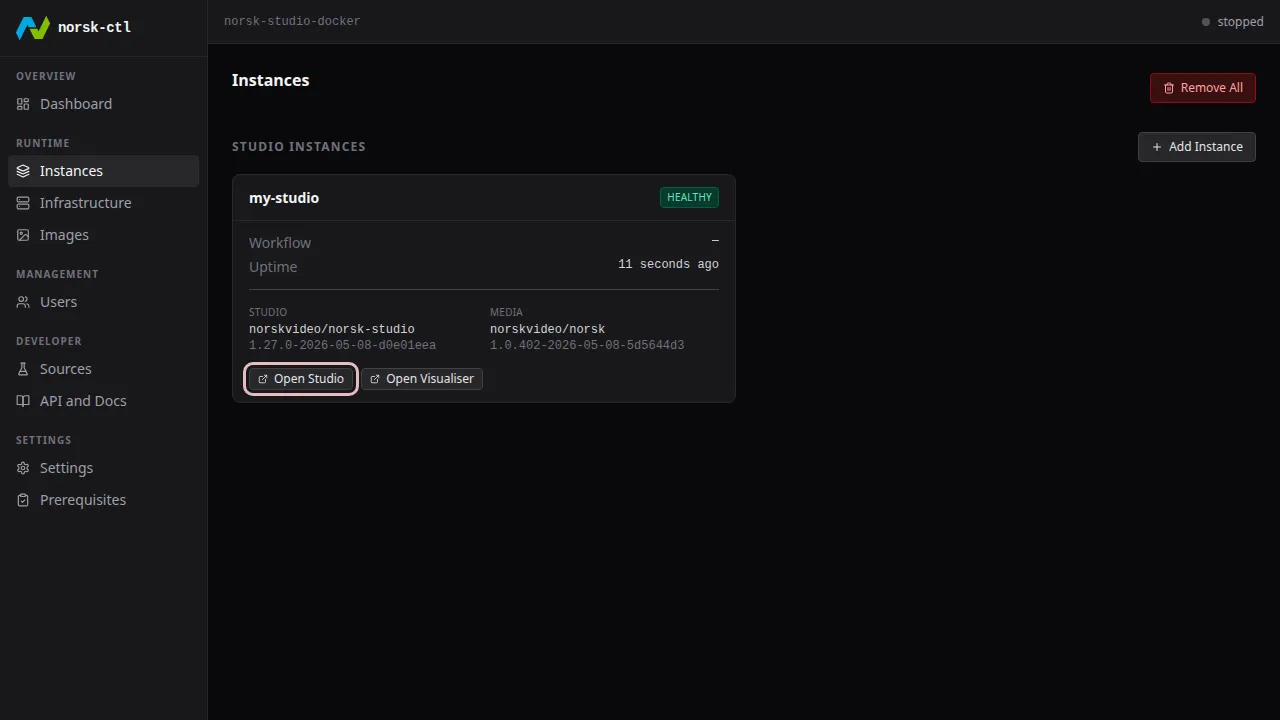
Navigate to the Instances page
Section titled “Navigate to the Instances page”Click Instances in the sidebar to manage instances.
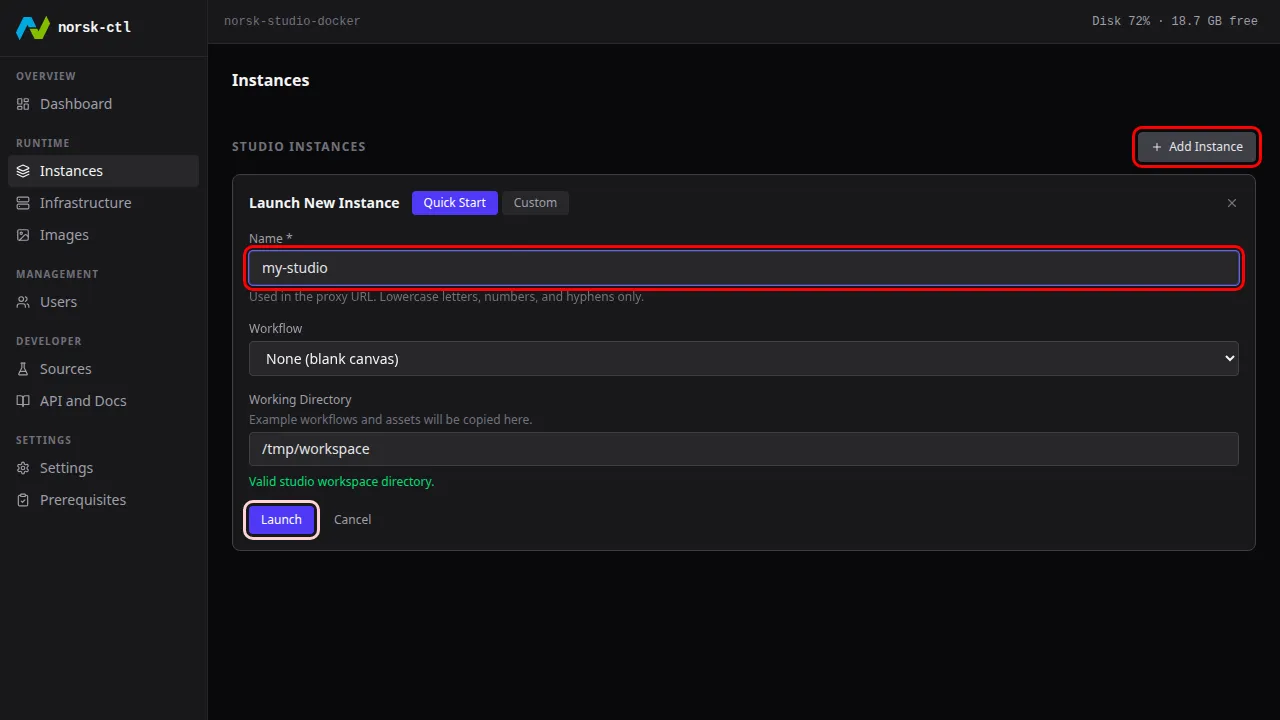
Launch an instance
Section titled “Launch an instance”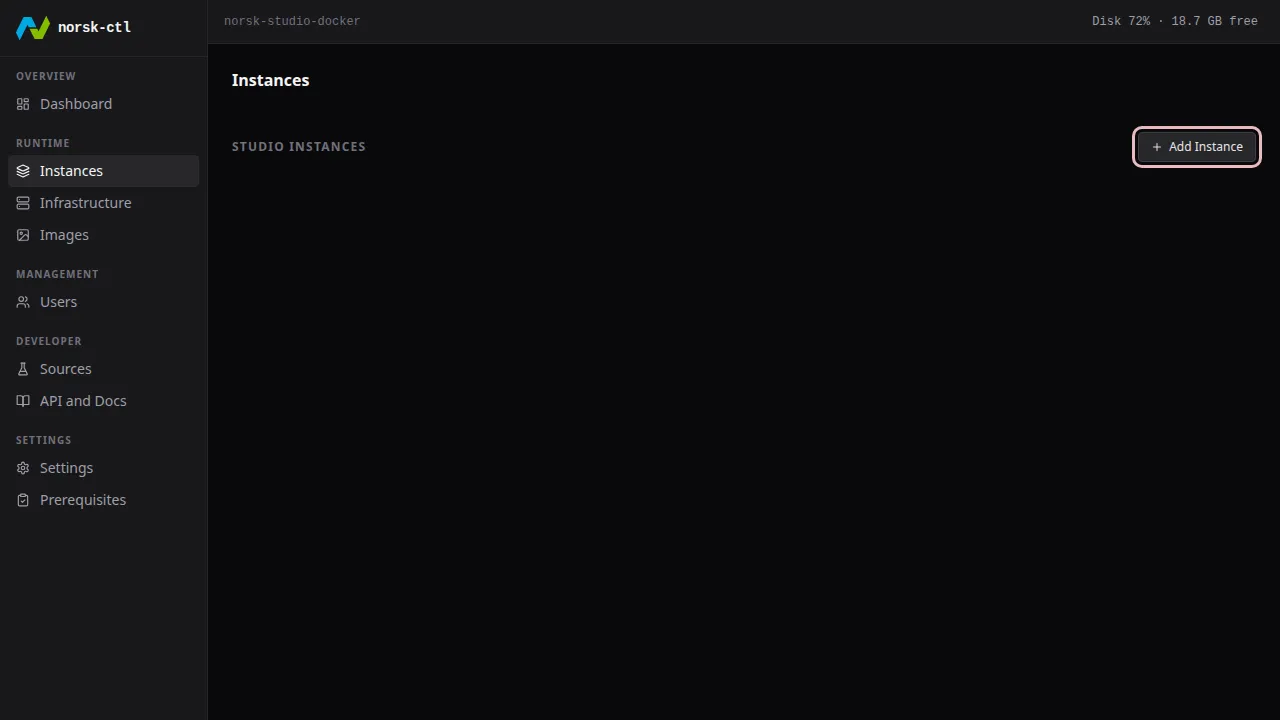
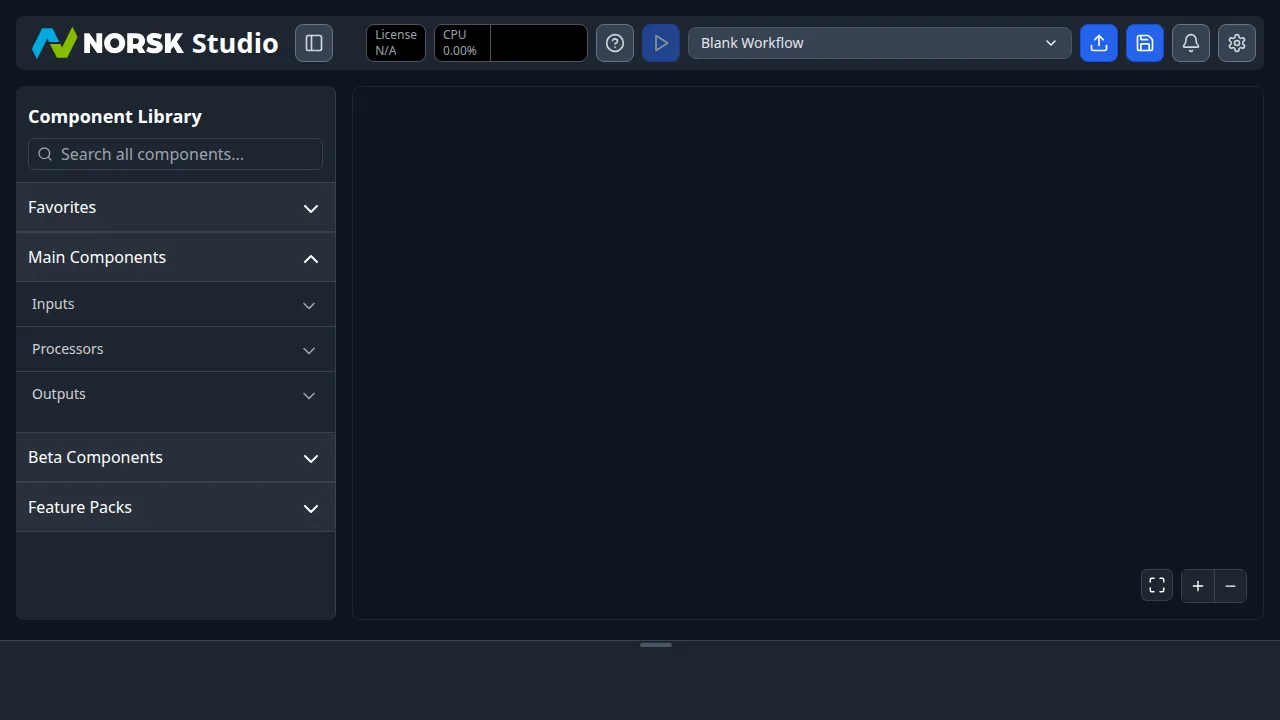
Open Norsk Studio
Section titled “Open Norsk Studio”Access the studio UI through the proxy.
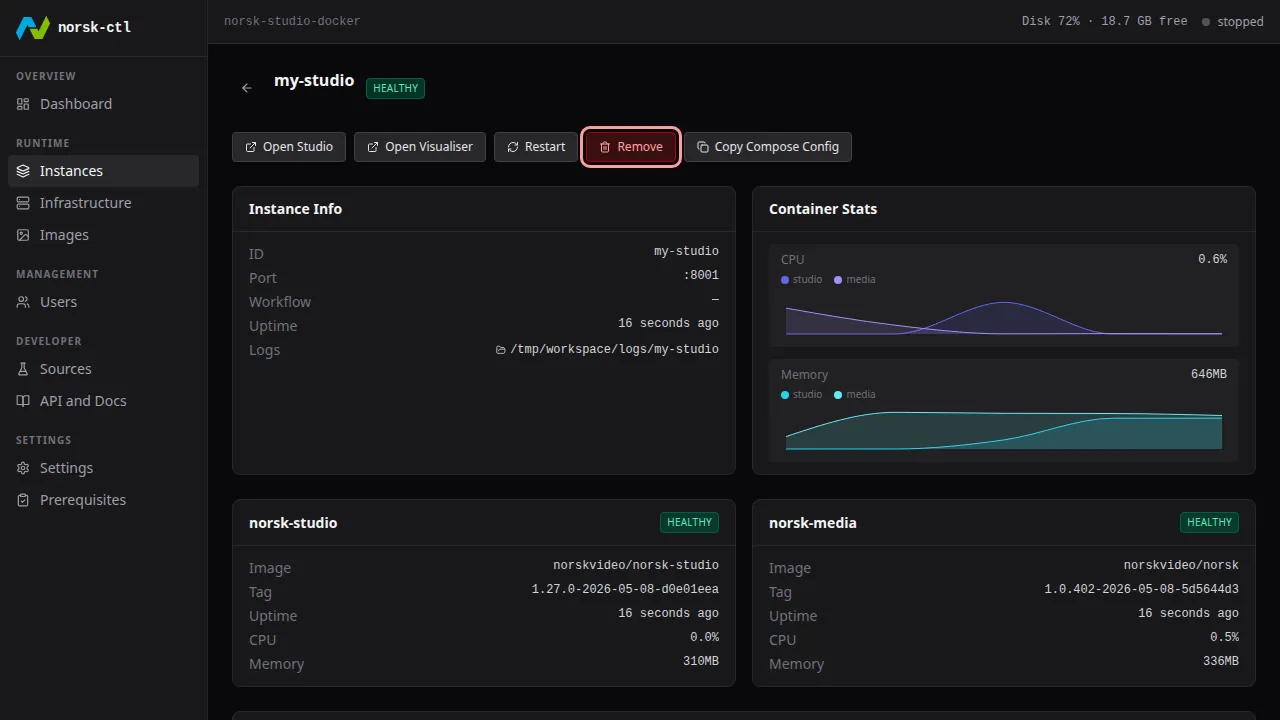
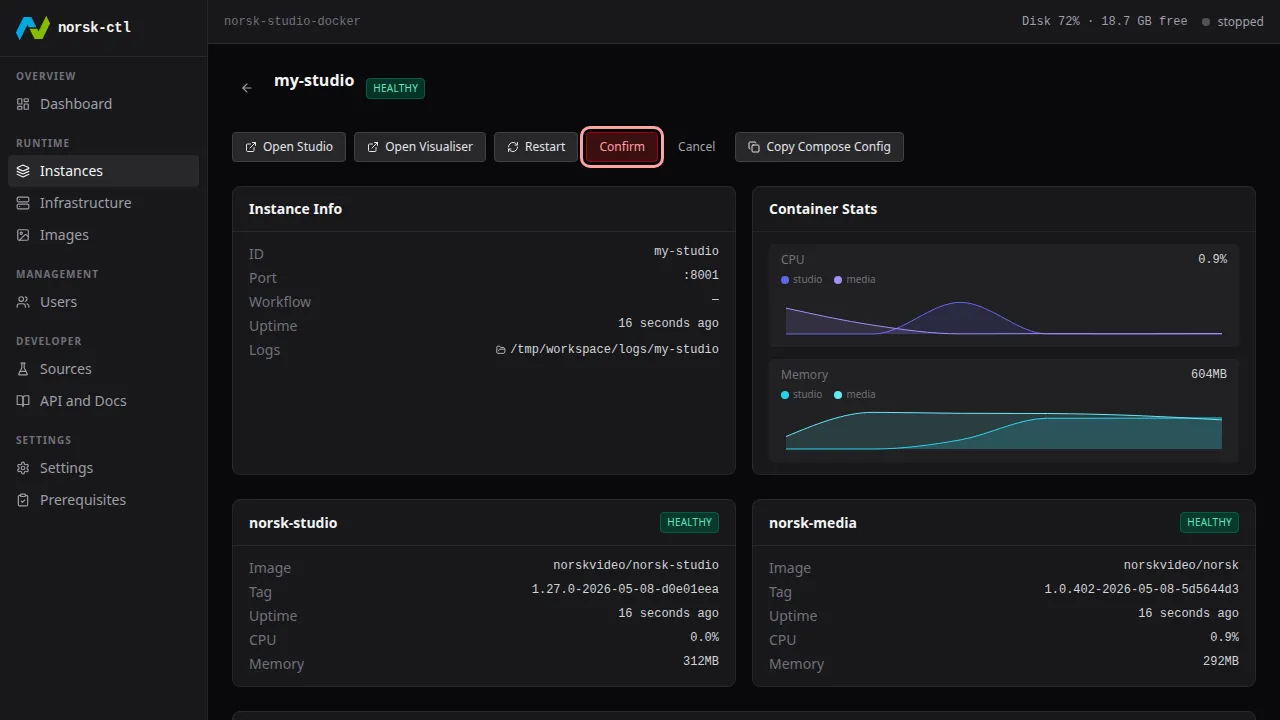
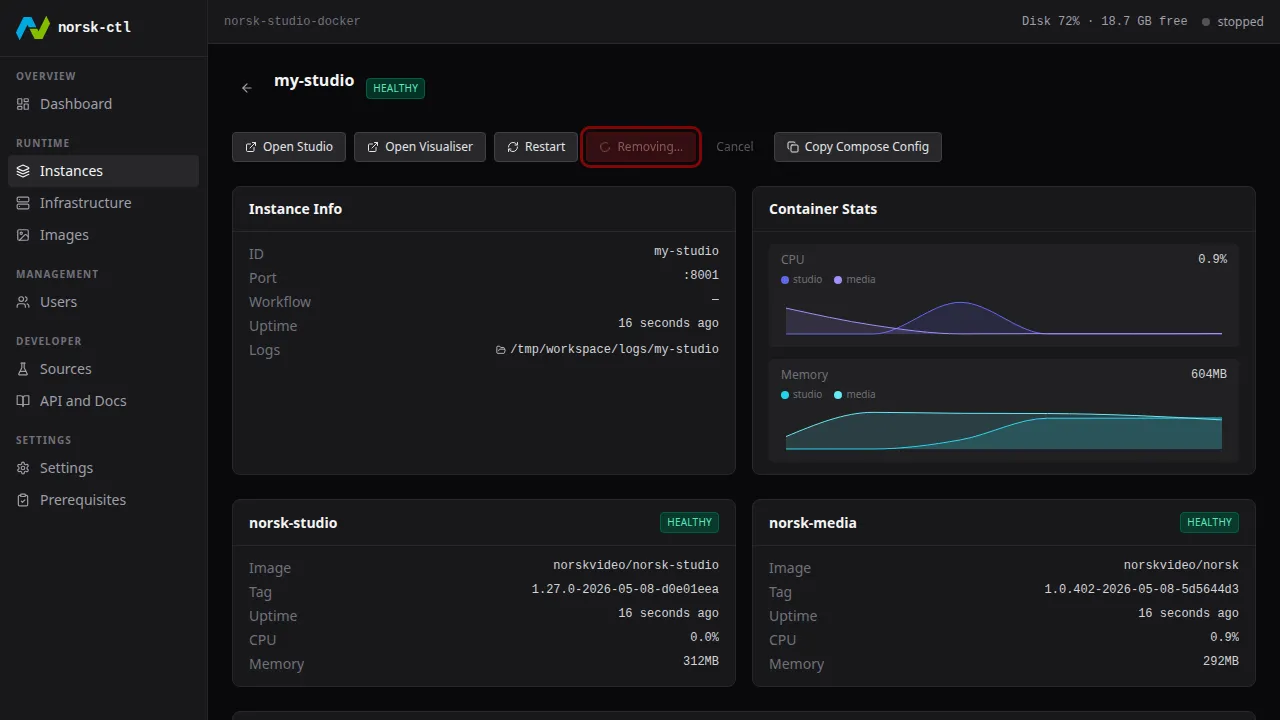
Clean up
Section titled “Clean up”Navigate back to the Instances page, click the instance tile, then click Remove on the details page to delete it.
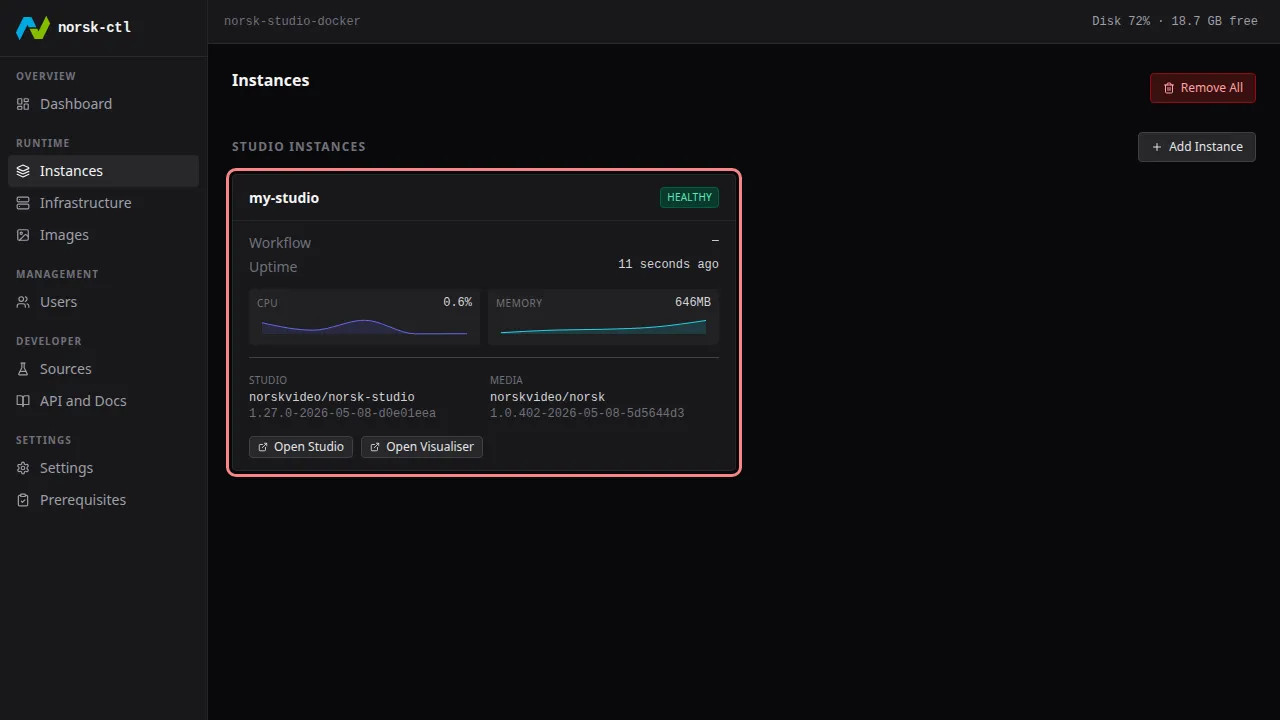
The proxy is needed whenever instances are running — with no instances left, it can be stopped to free the port.
$ norsk-ctl proxy stopThe daemon can be stopped and restarted at any time — running instances and the proxy are unaffected.
$ norsk-ctl shutdown --daemon-onlyDaemon stopped (pid 624610)